Quick Start
Introduction
To explore the features of DeepSquare, all you need is a Google account. This guide will walk you through the process of creating and deploying a workflow on the DeepSquare Grid using the Web2 version of the DeepSquare Portal.
The example provided will illustrate how credits gets allocated, how jobs are submitted and running, and how to watch their status and logs.
Writing and submitting your first workflow
-
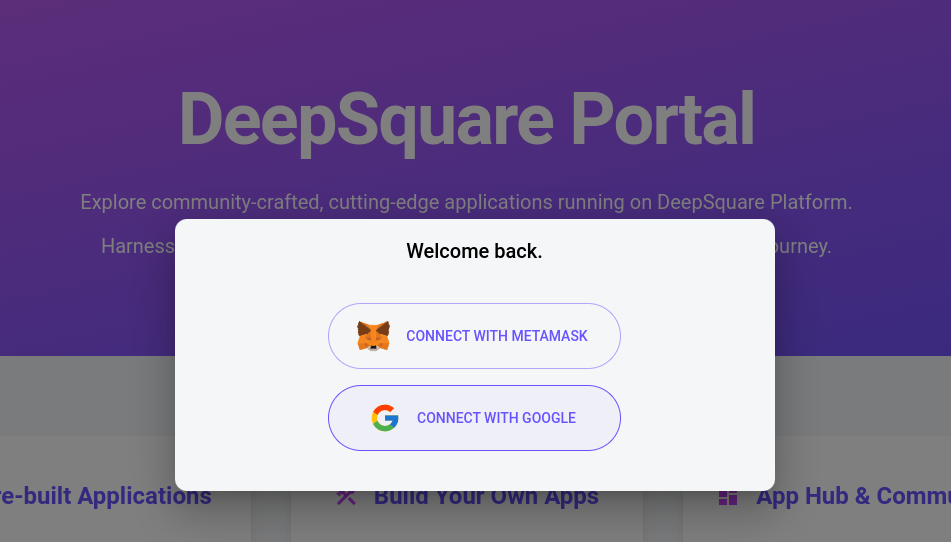
Log in to the DeepSquare Portal.
-
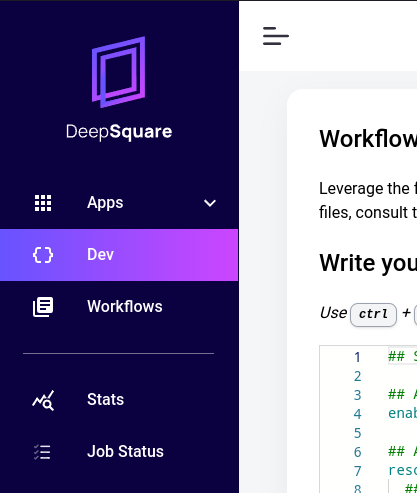
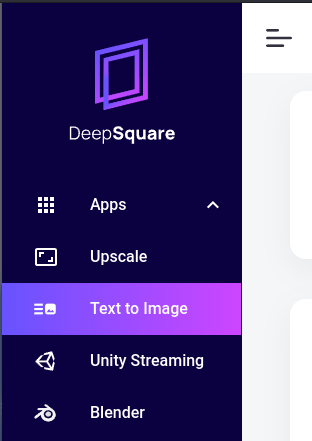
From the sidebar, open the Dev page:
-
Let's run a Stable Diffusion inference, i.e., a text to image. Copy the follwing YAML content into the editor:
stable-diffusion.yamlresources:
tasks: 1
gpus: 1
cpusPerTask: 1
memPerCpu: 32000
enableLogging: true
steps:
- name: stable-diffusion
use:
source: github.com/deepsquare-io/workflow-modules/stable-diffusion@v1
args:
- key: PROMPT
value: spatioport scifi deep_spaceYou can replace the
valueof thePROMPT, if you want. -
Submit the job to the DeepSquare Grid by clicking on the SUBMIT button:
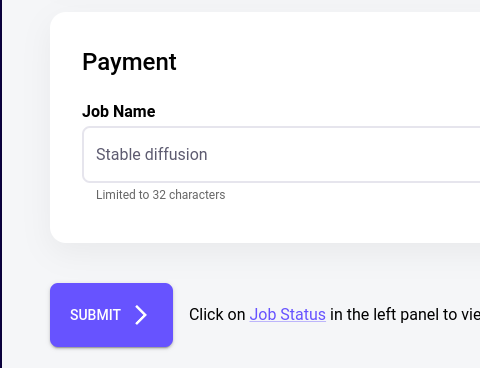
After submitting the jobs, credits are allocated for the job. Since we are using Web2, credits are hidden from the user.
-
Go the the Job Status page. You should see your job running, or finished.
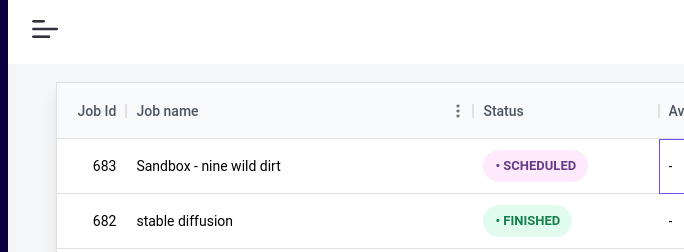
You can check the logs and outputs by clicking on the
 button.
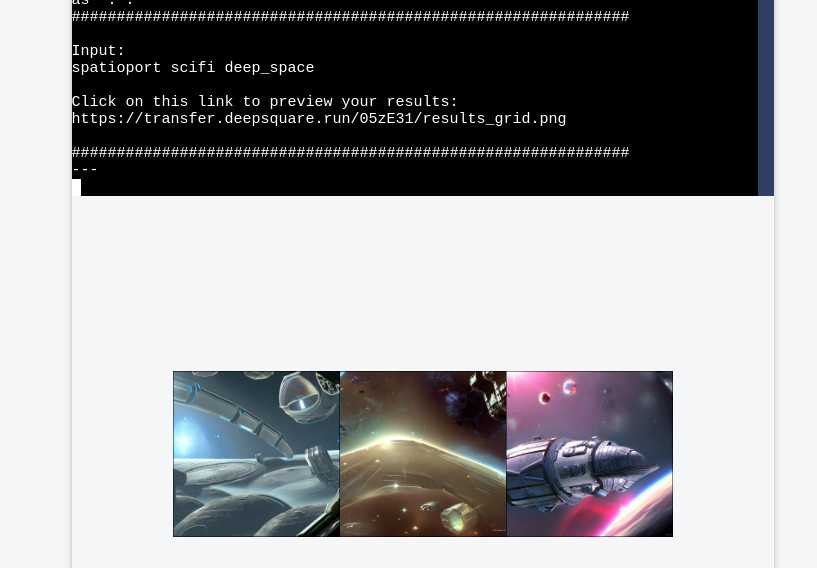
Explore more workflows
Deepsquare provides multiple workflows that you can edit to create you own job. You can explore the workflows in the deepsquare-io/workflow-catalog repository.
You can also use fully fledge applications that uses DeepSquare in the Apps sidebar.
Next steps
Are you ready to get started? Here are some helpful resources for taking your next steps with DeepSquare:
- For understanding DeepSquare and its internals, follow up on the next part "Learn - Introduction".
- For developing complete workflow with DeepSquare, see the "Getting Started".
- To install the
dpsto quickly launch workflows, see Command Line Interface. - For examples that demonstrate more complex features of Deepsquare, see the "Guides".